
I’ve been painting gel nails at home for over five years and after seeing all of your comments on my DIY gel nail kit giveaway, I realized that a surprising amount of people find the idea of doing gel nails at home too daunting to even try. There is a very tiny learning curve but once you start you’ll never want to go back to the salon.
Here’s a short crash course in how I do my gel nails at home! Hopefully, this will help DIY gels seem a bit less intimidating and give you a push into the awesome world of gels.
This post contains affiliate links; if you snag a deal through my link it will send some spare change my way to keep this slice of the internet up and running.
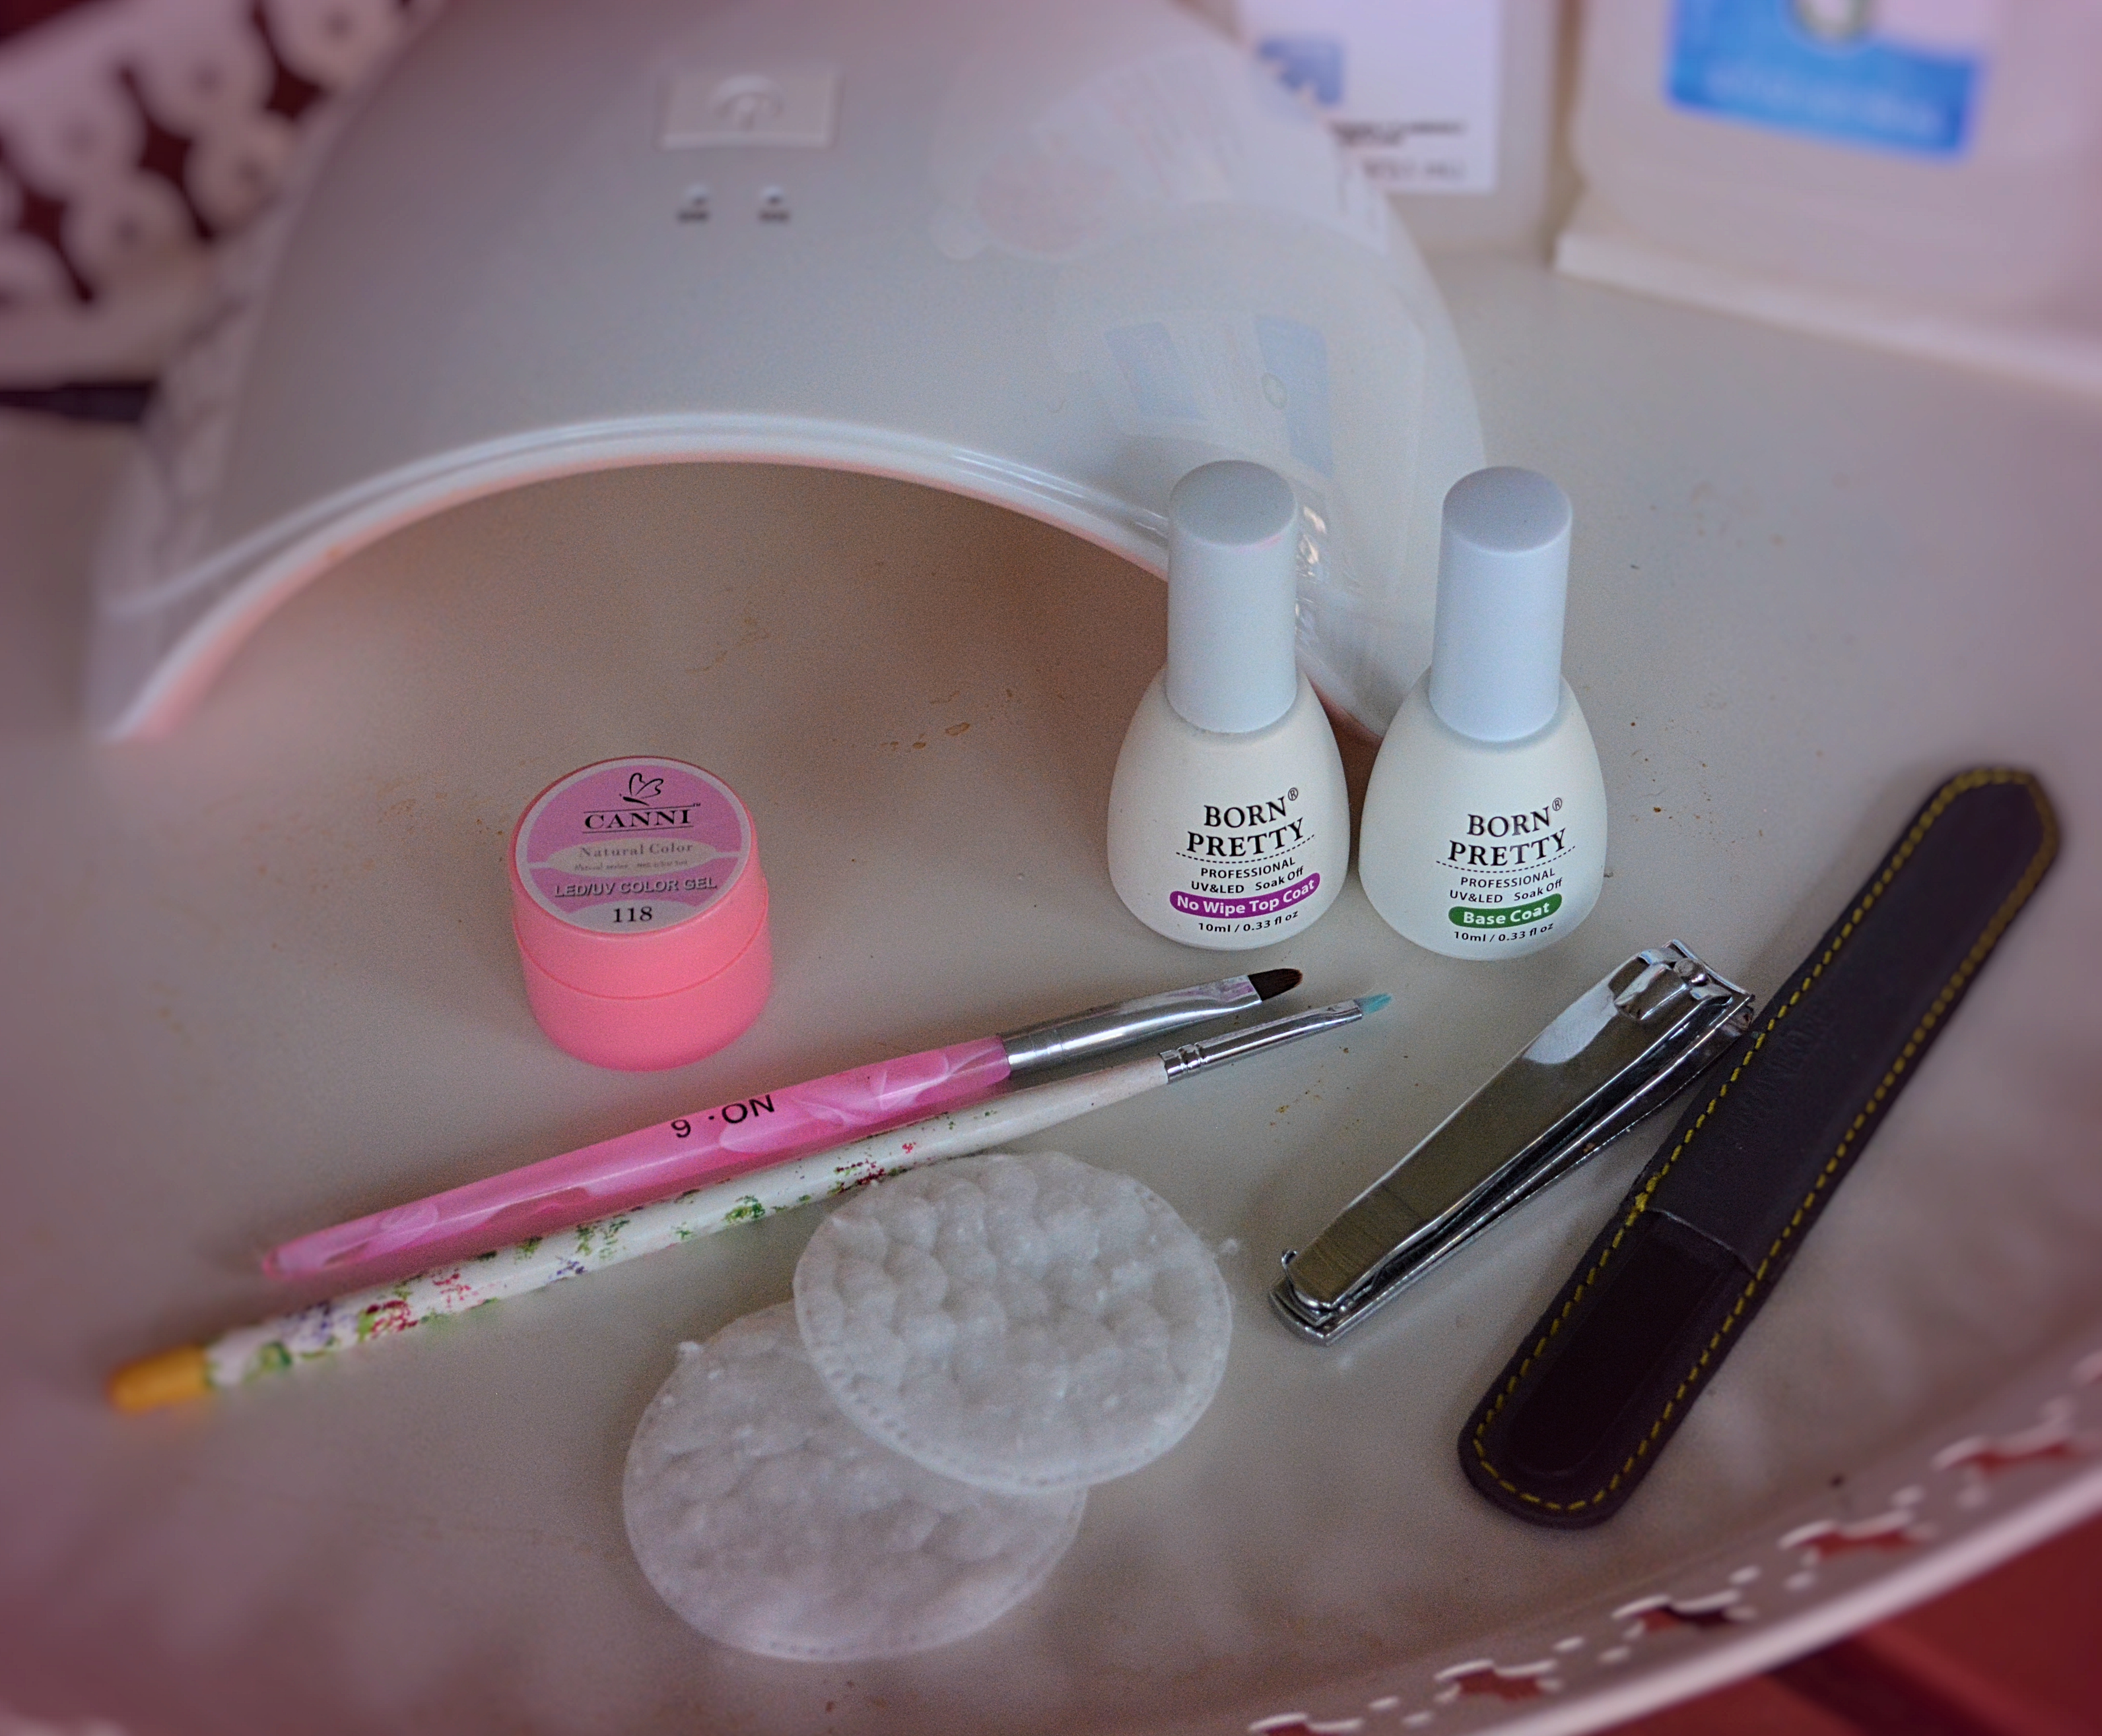
Here’s what you need for gel nails at home:
- Lint free wipes
- A nail buffer
- 90%+ rubbing alcohol
- LED or UV lamp
- Gel basecoat and gel topcoat
- Your favorite color of gel polish
How to prep your nails for gel polish
You’ll start the same way as all manicures, make sure your nails are clean, filed, and shaped, and make sure to remove all old polish. You won’t be able to touch up the shape of your nails once you apply gel. Since a gel manicure can last upwards of two weeks, you want a perfect canvas to work with!
Lightly buff away the shine on your nails, this will create a slightly rough surface for the gel to bond to. If you skip buffing it can cause your gel to pop off the nail because it doesn’t have anything to grip onto. Be careful not to go crazy buffing; over buffing will weaken your nails and lead to breaks!

How to prep for gel application
Even with bare nails, you will still want to wipe them down with either pure acetone or rubbing alcohol. This will remove any oils from the nail and help the gel adhere better. Many brands sell products to “cleanse” the nail before applying gel polish, but acetone works just as well and it’s much cheaper! Any nail oil or debris from buffing will be removed in this step and boost the lifetime of your gel mani.
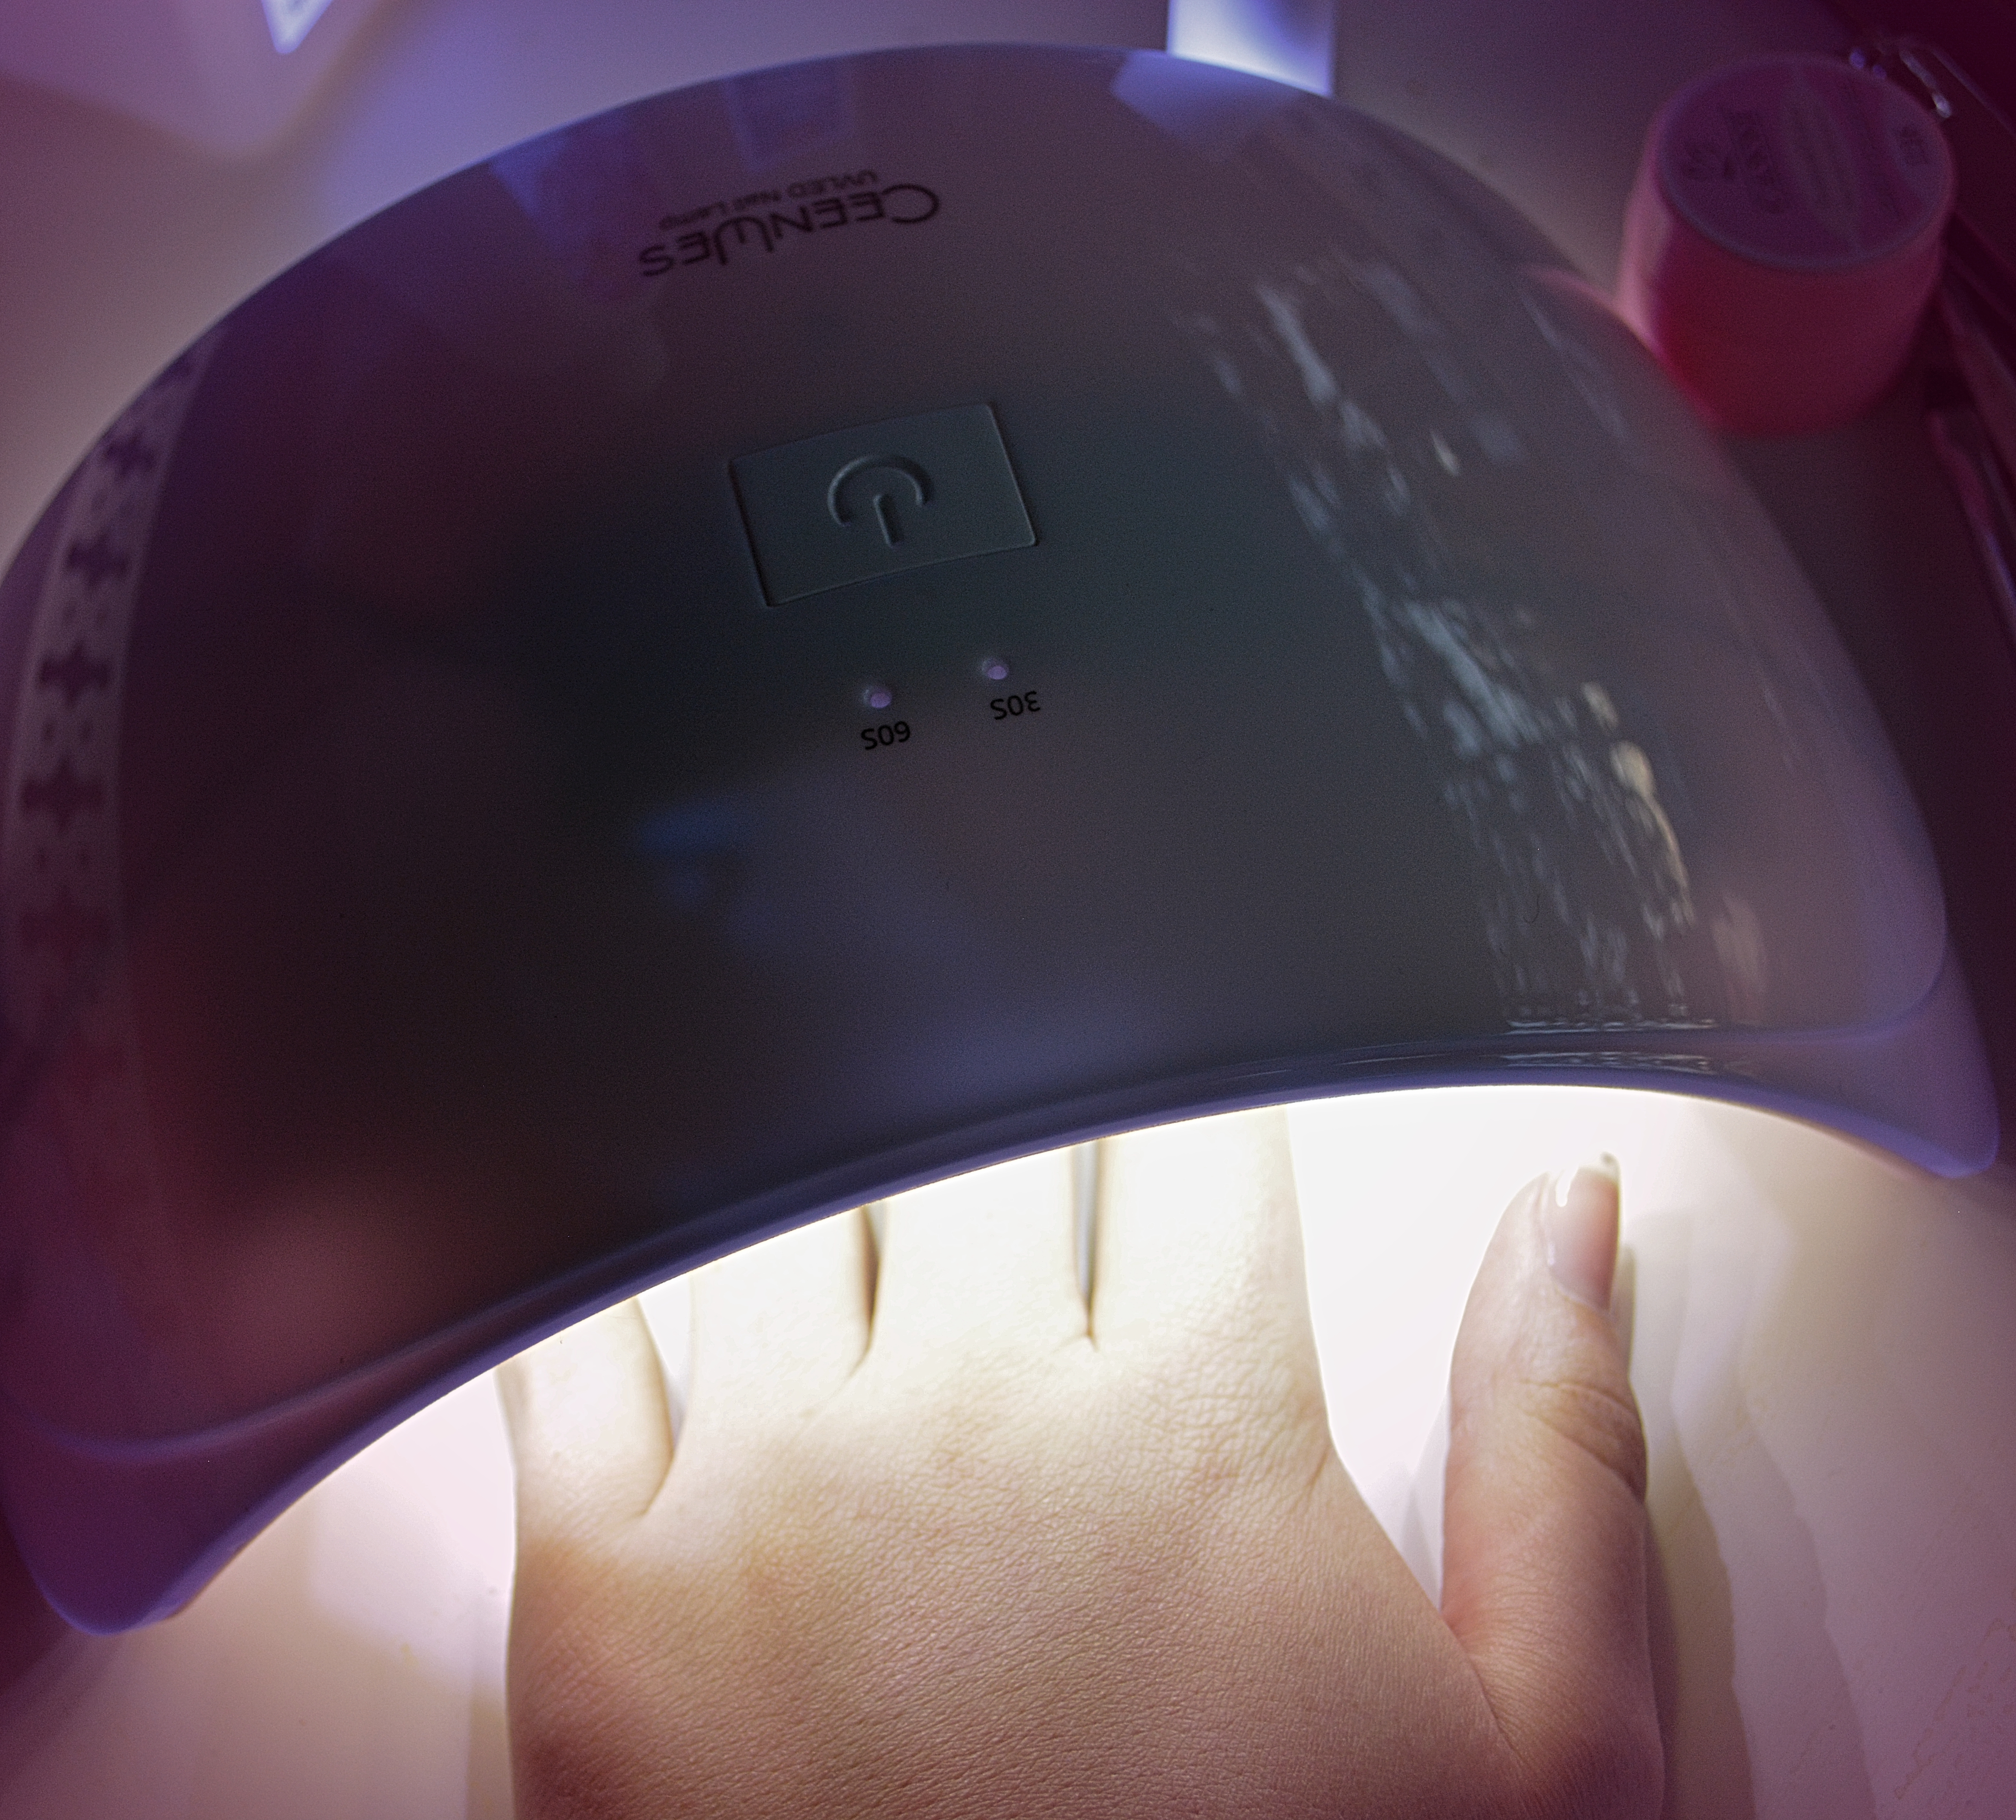
Do I need a LED or UV nail lamp?
LED lamps cure much faster than UV! Typically an LED lamp will cure a coat of polish in 30 seconds while a UV lamp would take around 2 minutes. UV lamps typically have a bulb-life of 1000 hours while LED lamps last around 50,000 hours which means you’d never have to worry about changing the bulbs (if you’re not a nail tech you probably You also need to keep in mind if the brand of gel polish you are using is compatible with an LED lamp. All gel polishes will be compatible with a UV lamp, but only some brands can be cured by LED too. The bottle will say what type of lamp can be used.
I personally use this duo LED/UV lamp so I can be prepared for any polish! I’ve been amazed by how well this lamp has performed and I’d recommend it for anyone wanting to build a cheap beginner kit for trying gel nails at home.
Applying the gel base coat
Start with a thin coat of base coat and then cure it for 30 seconds using your LED or UV lamp. The Born Pretty basecoat I’m giving away only needs 30 seconds of cure time, but this greatly varies depending on what brand you’re using. You should always look over the packaging to see what length of time the brand recommends. Overcuring the polish won’t hurt the manicure, but if you under cure and move forward with wet polish it can cause the gel to peel off prematurely.
If you’re new to the polish world it might be tempting to skip basecoat. Don’t do it! Basecoat is the foundation of your nail and helps the gel color firmly adhere to the nail.
Applying the gel color
Now that your base coat is cured you can start applying the gel color! Start with thin coats, if you apply too thick of a coat it will cure unevenly and can even become uncomfortable to cure. Gel releases a very small amount of heat as it cures. This isn’t noticeable if you use a thin coat but if you glop it on you might experience a “burning” sensation. You may also feel a warm sensation if you accidentally get polish onto your cuticles or the skin beside your nail. This is why it’s very important to clean up between each coat.
Keep in mind that after you cure the polish you won’t be able to clean up smudges of polish from your cuticles or skin. Be sure that everything looks perfect before moving forward to
The BornPretty brand gels I’m using for this post take 45 seconds to cure, but this varies from brand to brand. Most polishes will take 2-3 coats to reach full opacity, and you will need to cure between each coat. Typically the packaging will let you know how long to cure the nail.
Troubleshooting gel polish issues
You might find run into some polishes that shrink back from the cuticles and the sides of your nails after curing. You can prevent shrinkage by “flash curing” each nail for 5-10 seconds. If you flash cure each nail it will hold the polish in place so that when you’re ready to fully cure the entire hand the polish can’t shrink away from the edges.
How to apply gel topcoat
After applying the top coat, you will cure your nails one last time. I’ve been using a no-wipe topcoat from Born Pretty, but with most top coats you will need to wipe off a tacky layer from the gel.
Wiping off the tacky gel layer
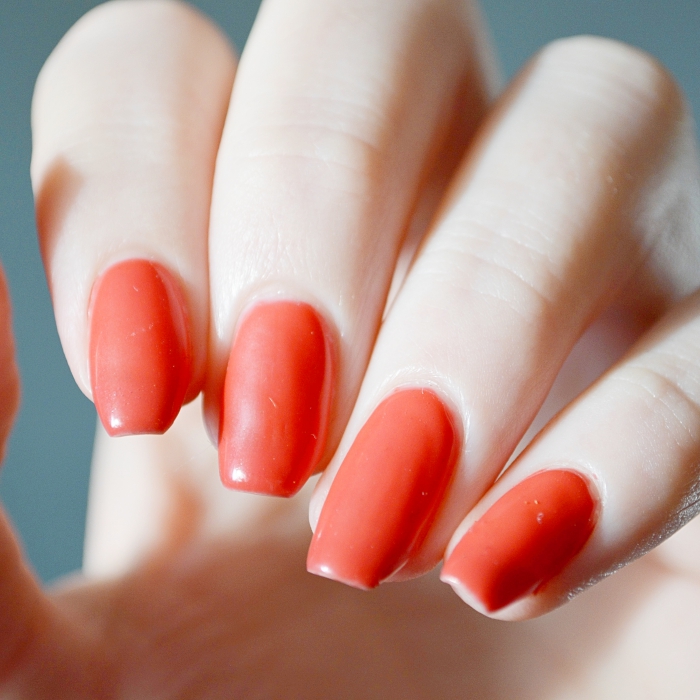
After curing, your nails will feel sticky to the touch. They’re dry so it’s safe to wipe off this tacky layer a.k.a the inhibition layer. Use a lint-free wipe with 91% rubbing alcohol to wipe off the tacky layer on top of the gel polish. You will need to use a lint-free wipe or a paper towel to avoid getting fibers stuck to the nail. I get mine in huge 300+ packs from Amazon for super cheap. Do not use a cotton round under any circumstances or your nail will look like it sprouted fur!
Use a different part of the wipe to clean each nail, if you use the same portion more than once it can cause the gel to appear dull. Now go off into the world and show off those nails!
Have you ever tried out gel nails at home or do you prefer getting pampered at the salon?